⭐ Making a Junk Journal Recipe Binder ⭐
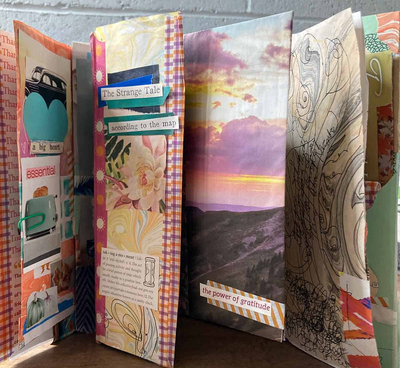
A notebook in progress, more photos to come when the stars align for me to have proper lighting and no cats sitting on the books.
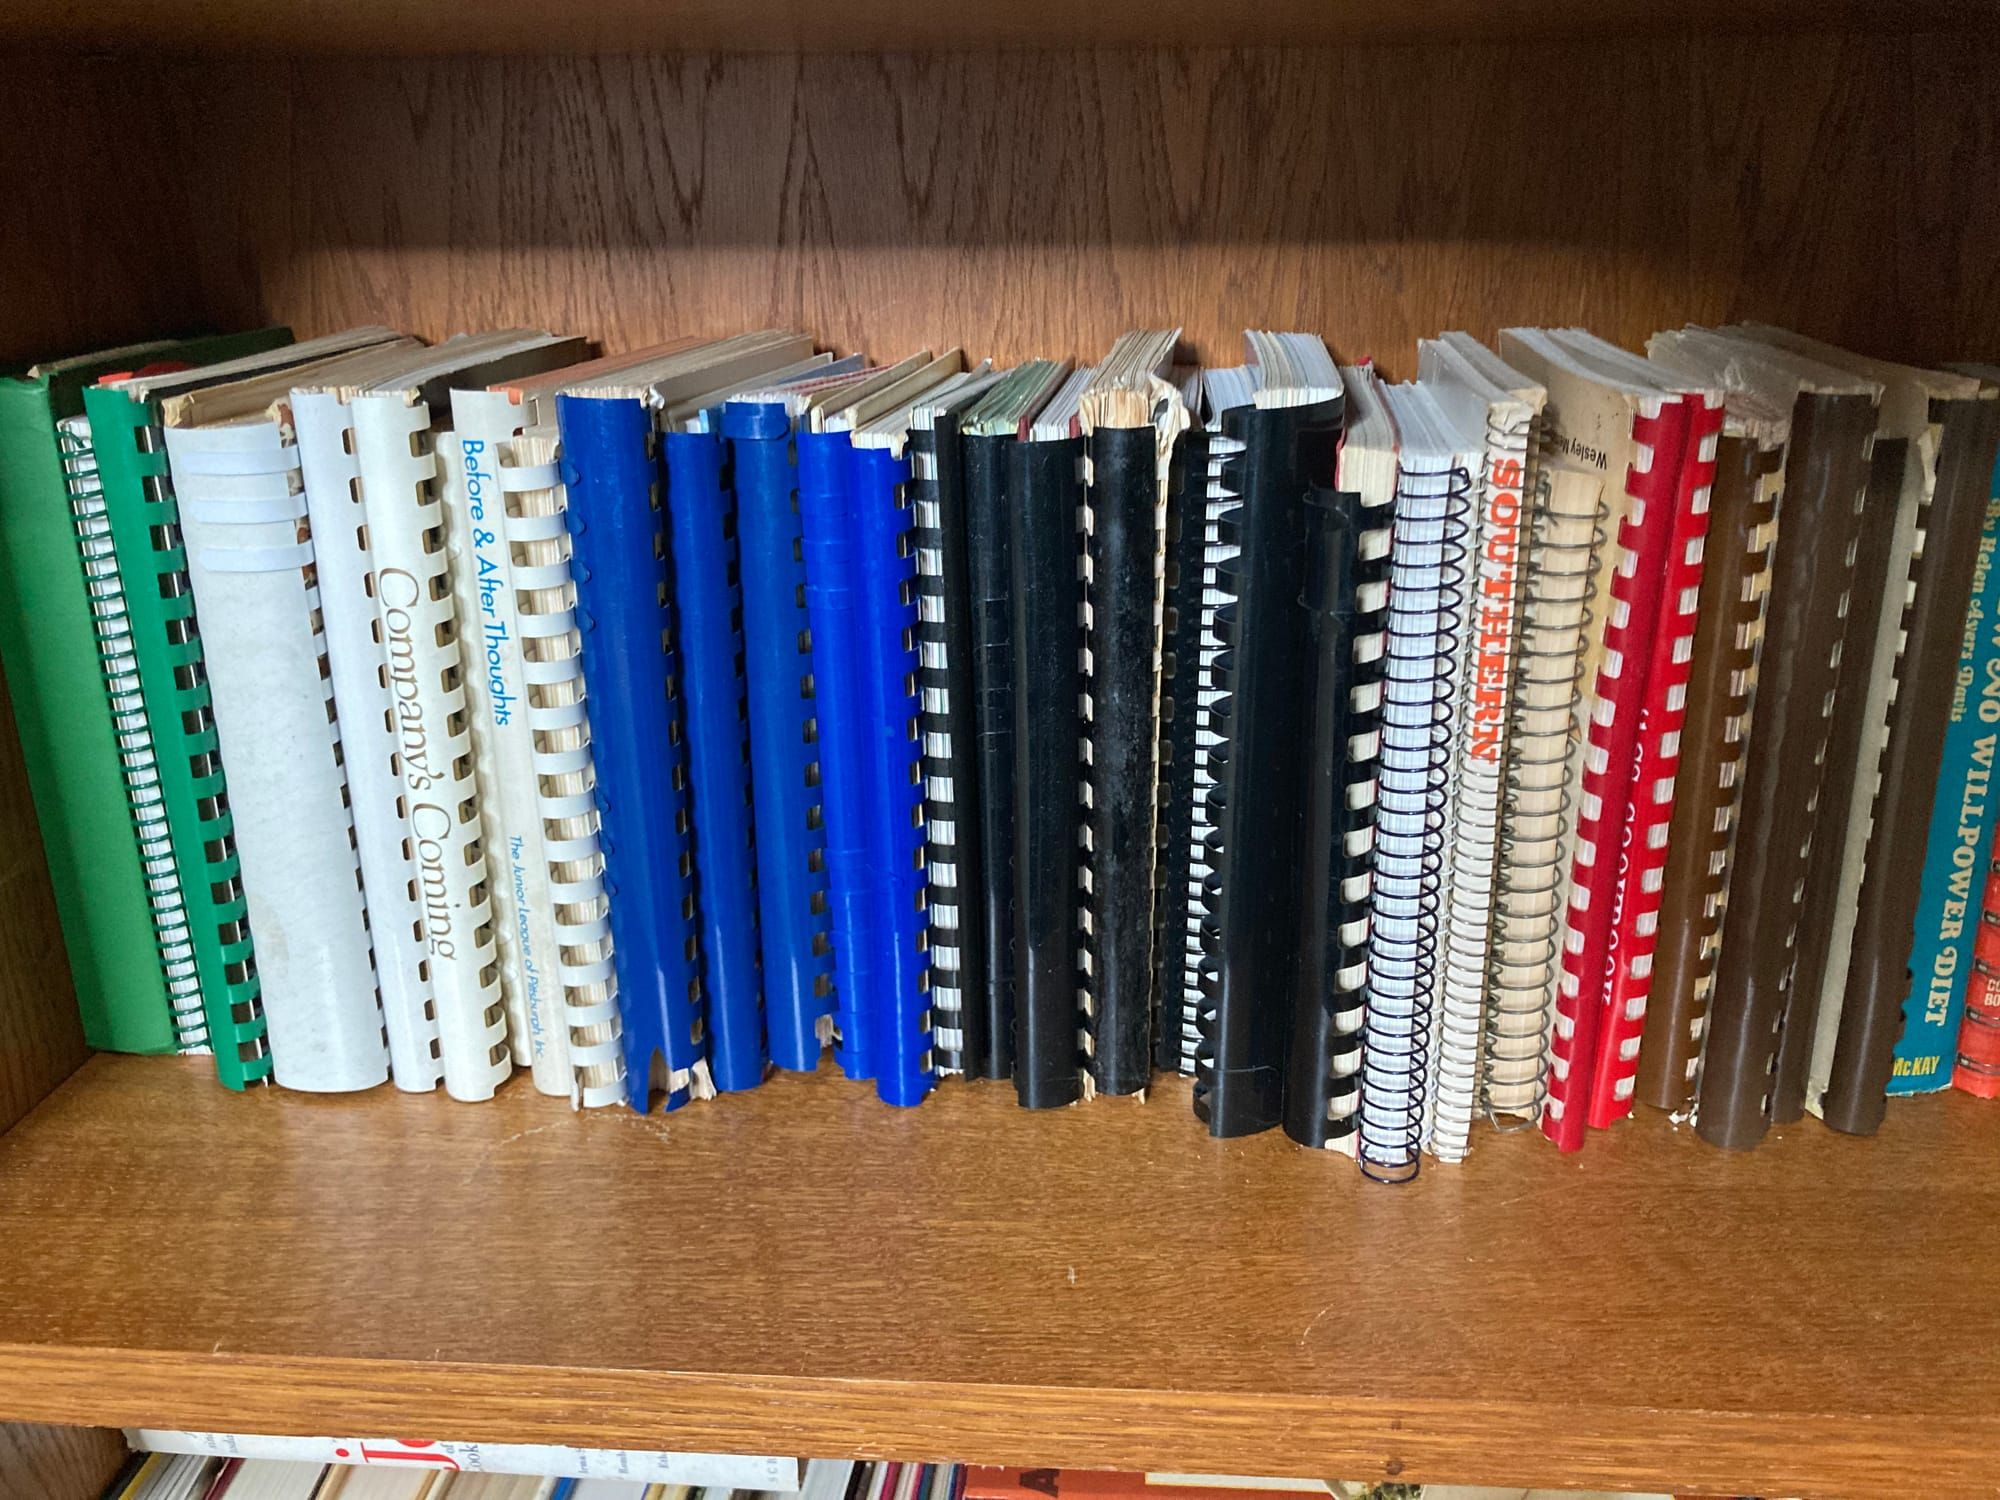
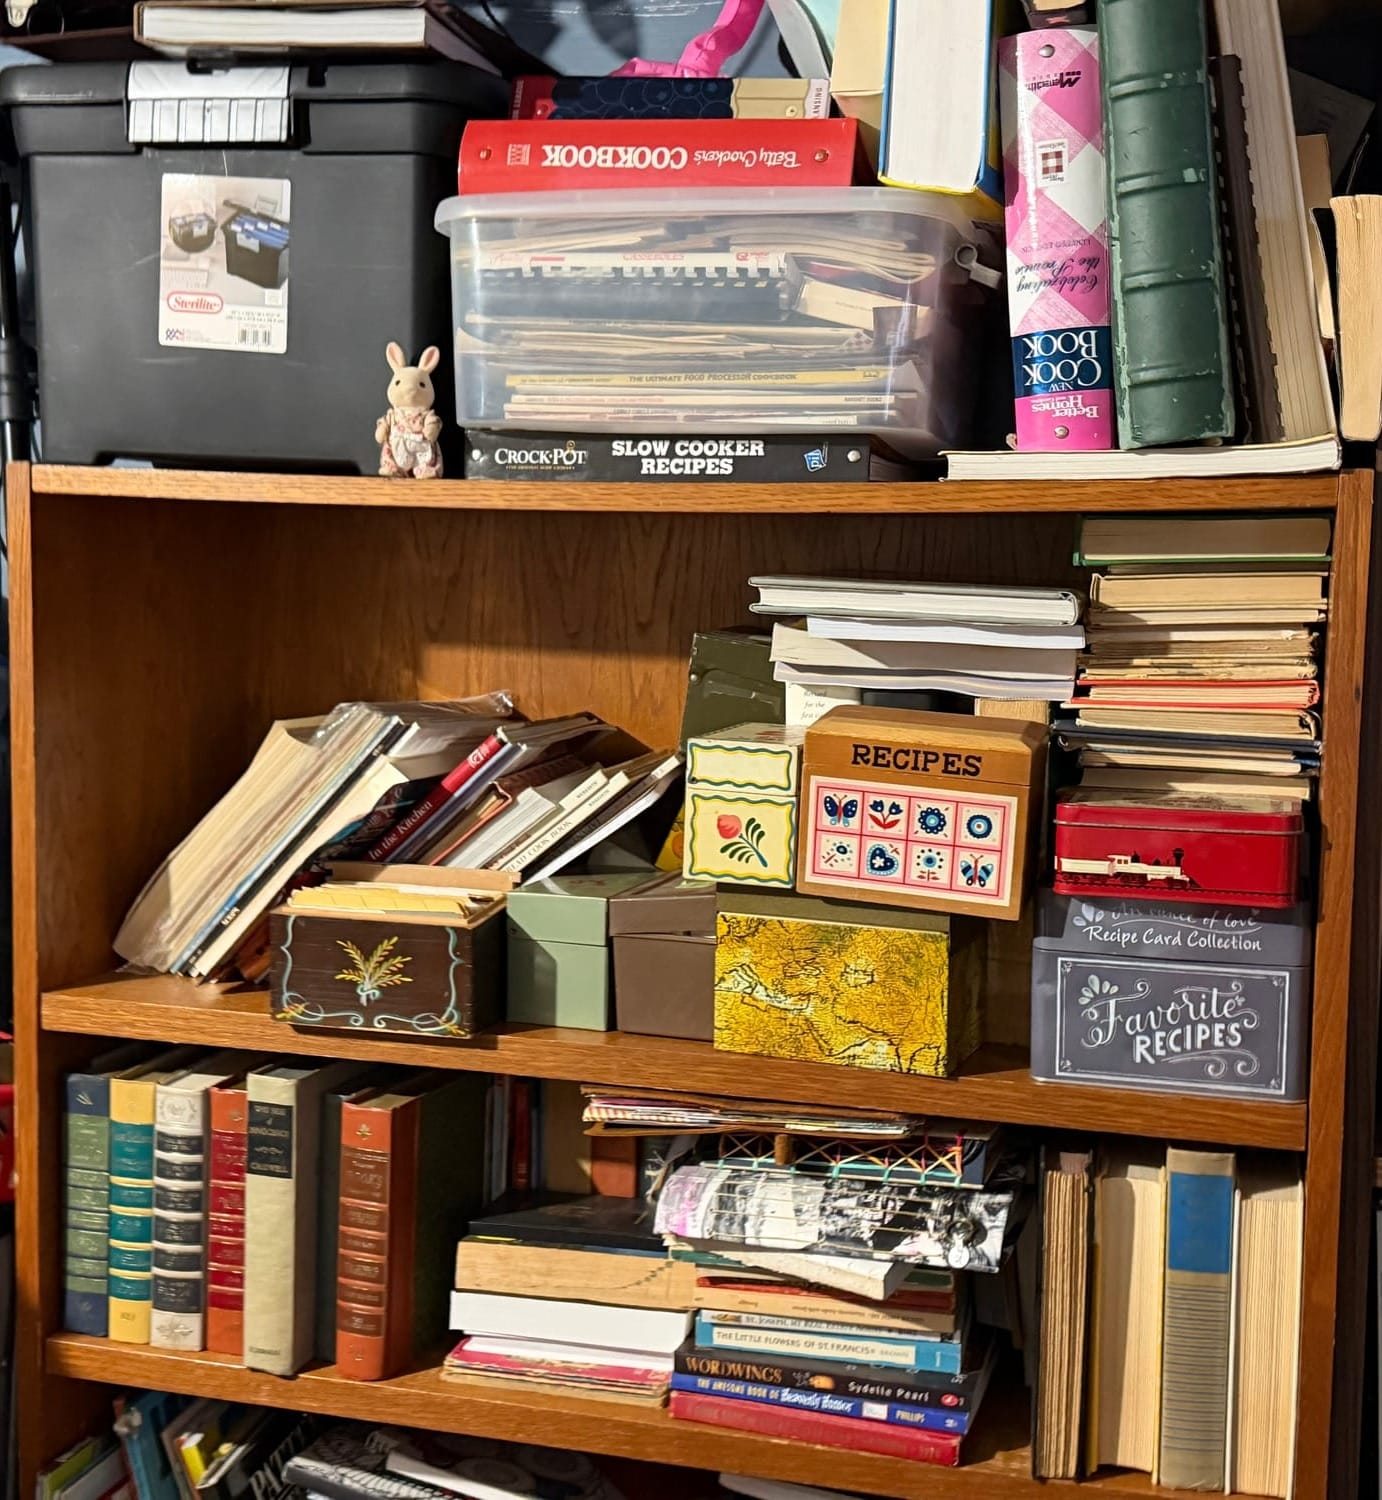
Ever since I started collecting cookbooks + kitchen ephemera, something I've been wanting to do for ages is create a junk journal recipe binder.
With the holidays fast approaching, I thought this would be the perfect time to get started and I'd love for you to make one with me!
While I thought about doing this in a notebook, I ultimately decided a binder was the way to go: they lay flat, they are easy to move pages around and I can add to it easily.
Also, lucky for me, my daughter brought home a bunch of binders from her friend's mom so I just so happened to have quite a few.
My binder is a ginormous 2" D-Ring binder, but feel free to use something much more sensible, like a standard 1.5" O-Ring binder, or go big + crazy like me- the choice is entirely yours!
Let's dive into supplies.
Supplies + Materials
- Binder or notebook
- Paper (any + all kinds will work!)
- Hole punch
- Pocket pages or page protectors (totally optional but fun to have!)
- Recipes
- Ephemera
- Glue stick (I personally like Scotch + UHU brands)
There are really no rules for what you can and can't put in your notebook - if it is flat, it's fair game!
Some ideas for ephemera to collect:
- Handwritten recipe cards
- Food packaging
- Grocery flyers
- Cut-outs from magazines
- Index cards
- Vintage advertisements
- Your own cooking/baking photos
- Scrapbook papers + die cuts
- Stickers
- Cut-outs + pages from old cookbooks
Before you get started, take some time to raid that kitchen junk drawer - you might be surprised at what cool things you can find!
Organizing Your Binder
There is no wrong way to organize your binder and that is the nice thing about making a binder - you can easily move pages around and expand or refine sections as much as you like!
I decided to organize mine into these sections:
- Appetizers + Snacks
- Breakfast + Brunch (my favorite meal of the day!)
- Main Dishes
- Side Dishes
- Breads + Rolls
- Cookies
- Deserts + Desserts (Ha!)
- Beverages
Once you have this figured out, you are ready to start assembling!
Putting It All Together
This is where the fun really begins - we can start assembling the notebook and putting it all together!
I started with my divider tabs- mine are just file folders I cut in half and wrote on though of course you can make it fancier if you like!
Next, I put the following in each section:
- 2-3 Page Protectors + Pocket Pages- this way they are ready to add to at any time for any category!
- 3 sheets of coffee dyed paper
- 3 sheets of cardstock
- 3 sheets of plain copy paper
You of course can add whatever you have and what you like but I figured this would give me a good base to get started!
Once you have your dividers and base sheets set up, you are ready to start adding your recipes and ephemera!
This whole project only took me a few hours to organize + set up and most of that time was looking through all my recipes and ephemera - it was a lot of fun and time well spent.
The best part? This is one of those junk journals I can keep adding to for a very long time!
I hope this inspires you to make your own recipe junk journal and of course I would love to see what you create- share your projects in the comments or email them to me at hello@chellestein.com